
Part 1: How to replace the rubber washer
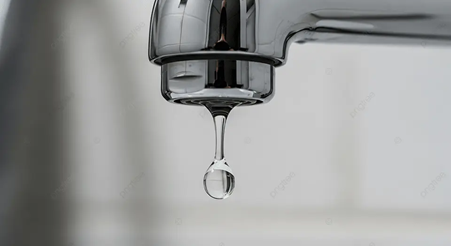
This is the most common ailment. Even though you’ve tightened the handle as much as possible, water still trickles out, causing noise and wasting clean water.
The cause: The rubber washer inside the valve core has become worn, hardened, or torn after a long period of opening and closing under pressure.
Tools needed:
- Adjustable wrench or spanner.
- Screwdriver (flathead or phillips).
- Thin knife.
- New rubber washers.
Steps:
- Shut off the main water valve: This is mandatory. Once closed, open the faucet to drain any remaining water in the pipe.
- Remove the decorative cap: Use the tip of the knife to gently pry off the round plastic cap (usually blue/red) on top of the handle.
- Remove the handle: Use the screwdriver to remove the screw revealed underneath the cap, then lift the handle off.
- Remove the valve stem: Use the adjustable wrench to grip the stem body (the brass part) and turn it counter-clockwise to remove the core.
- Replace the washer: Remove the old rubber washer at the bottom of the stem, clean away any debris/sediment, and install the new washer.
6. Reassemble: Perform the steps in reverse order. Note: Tighten just enough to be snug; avoid over-tightening to prevent stripping the threads.
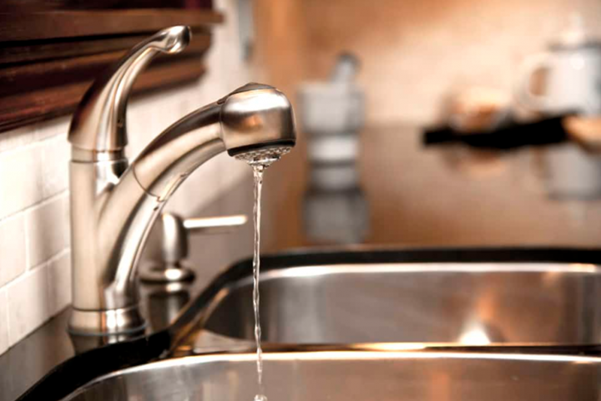
Part 2: Weak or sluggish flow despite high pressure
Many people mistakenly think the pipes are clogged when the water flow is weak, but the culprit is often right at the tip of the faucet (the aerator).
The cause: The aerator is clogged with calcium buildup, sand, gravel, or rust flakes washing out from the pipes.
Quick fix:
- Remove the faucet head: Unscrew the tip of the faucet by turning it counter-clockwise by hand. If it is too tight, use locking pliers (pipe wrench).
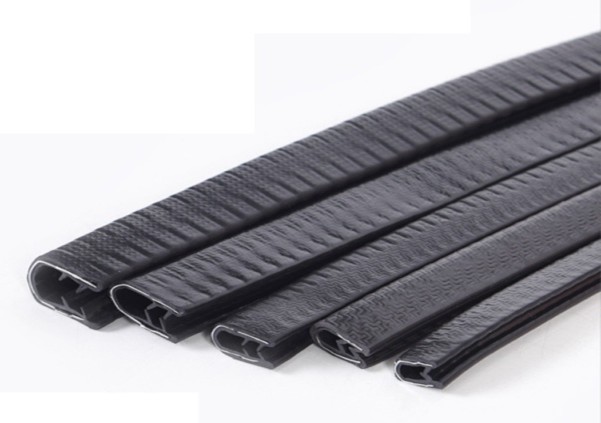
- Important tip: Wrap a thick cloth around the faucet head before using pliers to avoid scratching the Chrome plating.
- Preliminary cleaning: Rinse off any sand or dirt trapped on the mesh screen under a strong stream of water.
- Remove calcium scale: If you see stubborn white deposits on the mesh, soak the head in a cup of white vinegar for 15-30 minutes. The acid in the vinegar will completely dissolve the lime scale.
- Reinstall: Screw it back onto the faucet and check the flow.
Part 3: Stiff or broken handle – Replacing the single-lever cartridge
For modern faucets (single-lever hot/cold mixers), the mechanism does not use a compression washer but rather a water-mixing Cartridge. When the lever feels heavy, makes squeaking noises, or snaps off, you need to replace this part.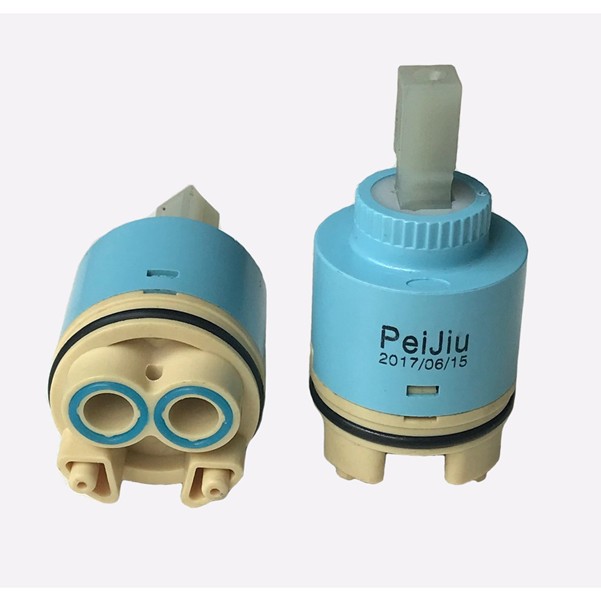
Replacement steps:
- Remove the hidden screw: There is usually a small hole on the handle body (sometimes covered by a small rubber plug). You need a Hex key (usually 2.5mm) or a small screwdriver to remove the screw located deep inside.
- Remove the decorative dome: Gently unscrew the dome-shaped cap located just beneath the handle by hand.
- Remove the retaining nut: Use a large adjustable wrench to unscrew the brass/plastic nut that holds the cartridge in place.
- Replace the cartridge: Lift the old cartridge out.
- Note: Take the old cartridge to the plumbing store to buy an exact match, as every manufacturer uses different pin sizes and configurations.
- Alignment: When installing the new cartridge, ensure the two protruding pegs on the bottom fit perfectly into the two recessed holes in the faucet body.
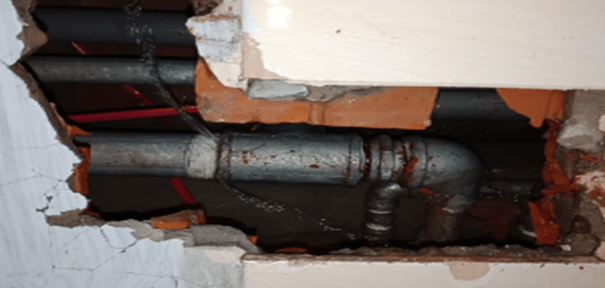
Part 4: Removing a thread broken inside the wall
This is the riskiest situation: You try to unscrew an old faucet to replace it, but the threaded shank breaks off and remains stuck inside the wall pipe. Do not use a chisel to smash the wall immediately!
The lifesaver solution:
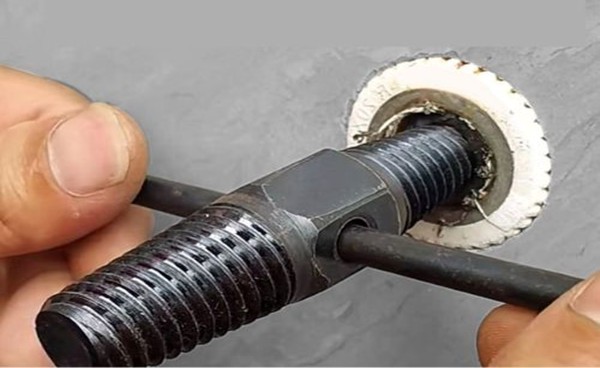
Use a broken screw extractor (pipe screw extractor): This is a specialized tool (often called a “reverse thread” extractor), which is quite cheap and widely available at hardware stores.
Procedure:
- Select an extractor bit that fits the size of the broken pipe.
- Tap the extractor gently into the broken section.
- Use a wrench or tap handle to grip the square head of the extractor and turn it counter-clockwise.
- Due to the reverse thread design, the more you turn, the tighter it bites into the broken pipe, eventually unscrewing the broken piece out.
Manual solution (if no tool is available):
Use a small hacksaw blade to gently saw two diagonal cuts inside the broken pipe (be very careful not to cut into the threads of the main wall pipe). Then, use a flathead screwdriver and a hammer to gently chip and separate the broken pieces. This method requires a high level of skill and patience.
The plumbing system in your house may seem complex, but minor failures usually follow general rules. Hopefully, with this handbook, you can confidently become your family’s “plumber,” saving costs and proactively handling situations immediately.